Imagine you’ve just finished a big coding project. You’ve spent hours debugging, building features, and polishing your code. But then… your laptop crashes. Files gone. Code history wiped. Panic mode activated.
Or worse — you’re working with a group on a university assignment, and someone “accidentally” replaces everyone’s work with an older version. Chaos. Frustration. Blame games.
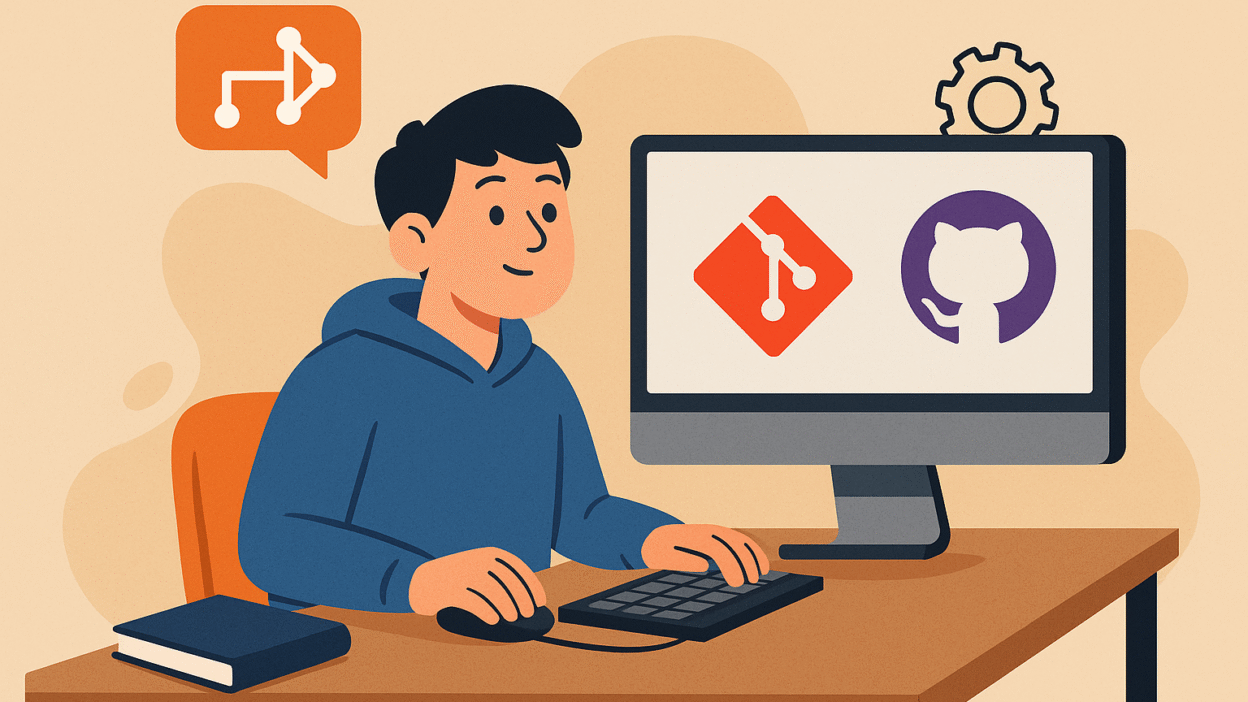
That’s where Git and GitHub come in. They’re not just tools. For every student who’s serious about coding, they’re your digital safety net, collaboration hub, and launchpad into the real-world tech industry.
If you’re still unsure about what Git is, or you’ve heard of GitHub but never used it — this blog is for you. By the end of this post, you’ll not only understand Git and GitHub, but you’ll be ready to make your first pull request with confidence.
Table of Content
What Is Git? And Why Should Students Care?
Git is a version control system — basically a tool that tracks changes in your code. It allows you to save different versions of your project, go back to a previous state if something breaks, and collaborate with others without overwriting each other’s work.
Think of it like Google Docs for code, but more powerful and built for developers.
Why Git Matters for Students:
- Prevents loss of code due to mistakes or system crashes
- Helps manage university group projects cleanly
- Makes your work look professional to recruiters and mentors
- Required skill for almost every developer job and internship
You don’t need to be a senior developer to use Git. In fact, the earlier you start, the faster you build muscle memory.
What Is GitHub? And How Is It Different from Git?
Let’s clarify this common confusion:
- Git is the tool that runs locally on your machine.
- GitHub is a cloud platform where your Git repositories (repos) can live, be shared, and be collaborated on.
Git is the engine. GitHub is the garage where your car (code) stays, gets improved, and admired by others.
GitHub allows you to:
- Host your code repositories in the cloud
- Collaborate with others via issues, branches, and pull requests
- Showcase your portfolio to recruiters
- Contribute to open source projects and get noticed
Best part? GitHub is free for students and offers a Student Developer Pack loaded with free tools, hosting, and learning resources.
Setting Up Git and GitHub: A Beginner’s Toolkit
Before you make your first pull request, here’s what you need:
Install Git
Download and install Git from: https://git-scm.com
Create a GitHub Account
Go to https://github.com and sign up. Pick a clean username — it becomes part of your public brand.
Configure Git Locally
Open terminal/command prompt and run:
git config --global user.name "Your Name"git config --global user.email "youremail@example.com"This sets your identity when you make commits.
Core Git Commands Every Student Must Know
Let’s break down Git’s basic flow — and make it feel less scary:
Initialize a Repo
git initThis turns your current folder into a Git-tracked project.
Clone an Existing Repo
git clone https://github.com/username/repository.gitUse this to get a copy of a remote repo to your machine.
Stage and Commit Changes
git add .

git commit -m "Initial commit"
The add command stages changes. commit saves them with a message.
Push to GitHub
git push origin mainThis sends your local commits to GitHub.
Pull Updates
git pull origin mainFetch latest changes from the remote repo to stay updated.
What Is a Branch? Why You Should Never Code on Main
Branches allow you to work on new features without breaking the main codebase. Always create a new branch before making big changes.
git checkout -b new-featureWork safely. Test everything. Then merge back into main after review.
What Is a Pull Request (PR)?
A pull request is when you propose changes to a project on GitHub.
It’s basically saying:
“Hey, I’ve made some improvements on a separate branch. Can we add this to the main code?”
Pull requests are how you contribute to:
- Your own projects
- Group university projects
- Open-source projects (even massive ones like React or TensorFlow!)
They’re reviewed, discussed, and only merged once approved
Your First Pull Request: Step-by-Step Guide for Students
Let’s walk through it using an example — contributing to a GitHub repository for a university club or event.
Step 1: Fork the Repository
Click the “Fork” button on the top-right of the repo. This makes your own copy.
Step 2: Clone the Fork
git clone https://github.com/yourusername/projectname.gitStep 3: Create a New Branch
git checkout -b add-your-nameStep 4: Make Your Edits
Open the code in VS Code or your favorite editor. Make small, useful changes — like adding your name to a contributor list.
Step 5: Stage, Commit, Push
git add .git commit -m "Added my name to contributors"git push origin add-your-nameStep 6: Create the Pull Request
Go to your GitHub repo. Click “Compare & pull request”, write a message, and click submit.
Congrats! You just made your first pull request.
Best Practices for Git & GitHub Success
Here are some habits that’ll take you from beginner to confident contributor fast:
1. Commit Often, But Meaningfully
Don’t wait to finish everything. Make small, logical commits with clear messages.
git commit -m "Add login button and style fixes"Avoid messages like update stuff or final final v2.
2. Never Code Directly on main
Create branches for each new task or fix. This keeps the project stable.
3. Sync Before You Start
Always run:
git pull origin mainbefore starting work. It helps avoid conflicts later.
4. Use .gitignore
Avoid pushing unnecessary files like .env, node_modules, or IDE configs. Use .gitignore to keep the repo clean.
5. Don’t Fear Merge Conflicts — Learn to Resolve Them
Merge conflicts happen when two people edit the same line in a file. Git will ask you to choose which version to keep.
Take your time, review both versions, and resolve wisely.
How GitHub Can Boost Your Career Before You Graduate
GitHub isn’t just for storing code — it’s your portfolio, your resume, and your proof of work.
Here’s how students are using GitHub smartly:
- Uploading class projects and organizing them into folders
- Writing READMEs explaining what the project does
- Hosting simple websites via GitHub Pages
- Forking open-source repos and fixing typos (yep, even that counts!)
- Contributing to hackathons and university clubs
Beginner-Friendly Open Source Projects You Can Contribute To
If you want to make your first open-source PR, try these:
- EddieHub – Welcomes beginners
- First Contributions – Step-by-step
- DevScript – Project-based contributions
Contributing helps you learn collaboration, clean code practices, and builds your confidence.
From Campus to Code: How to Teach Yourself Git & GitHub the Smart Way
Here’s a 7-day roadmap for students:
| Day | Focus |
| 1 | Install Git & create GitHub account |
| 2 | Learn basic Git commands |
| 3 | Clone a repo and make edits |
| 4 | Create branches & learn commits |
| 5 | Push to GitHub and pull changes |
| 6 | Fork a repo and make a pull request |
| 7 | Join a student-friendly open source repo |
Stick to this routine and within a week, you’ll be Git-fluent.
Final Thoughts: Start Small, Think Big
Git and GitHub might feel technical or intimidating at first. But they’re not just tools — they’re part of your growth journey as a developer.
The best time to start was yesterday.
The second-best time is right now.
So make a GitHub account. Create a repo. Push your project. Write a README. Contribute to a friend’s code. Open your first pull request.
Each step makes you better, bolder, and more ready for the real world.


